Live Ops
Live Ops lets you control your game after it ships. Change difficulty, toggle features, adjust prices, and run experiments — all from the dashboard, no app update required. Your players get the changes within seconds.
What You’ll Learn
Section titled “What You’ll Learn”- How to set up remote config for feature flags and balancing
- How to target different configs to different player segments
- How to edit game data tables (balance sheets) live
- How to run A/B tests to optimize game design
- How to manage changelogs for your players
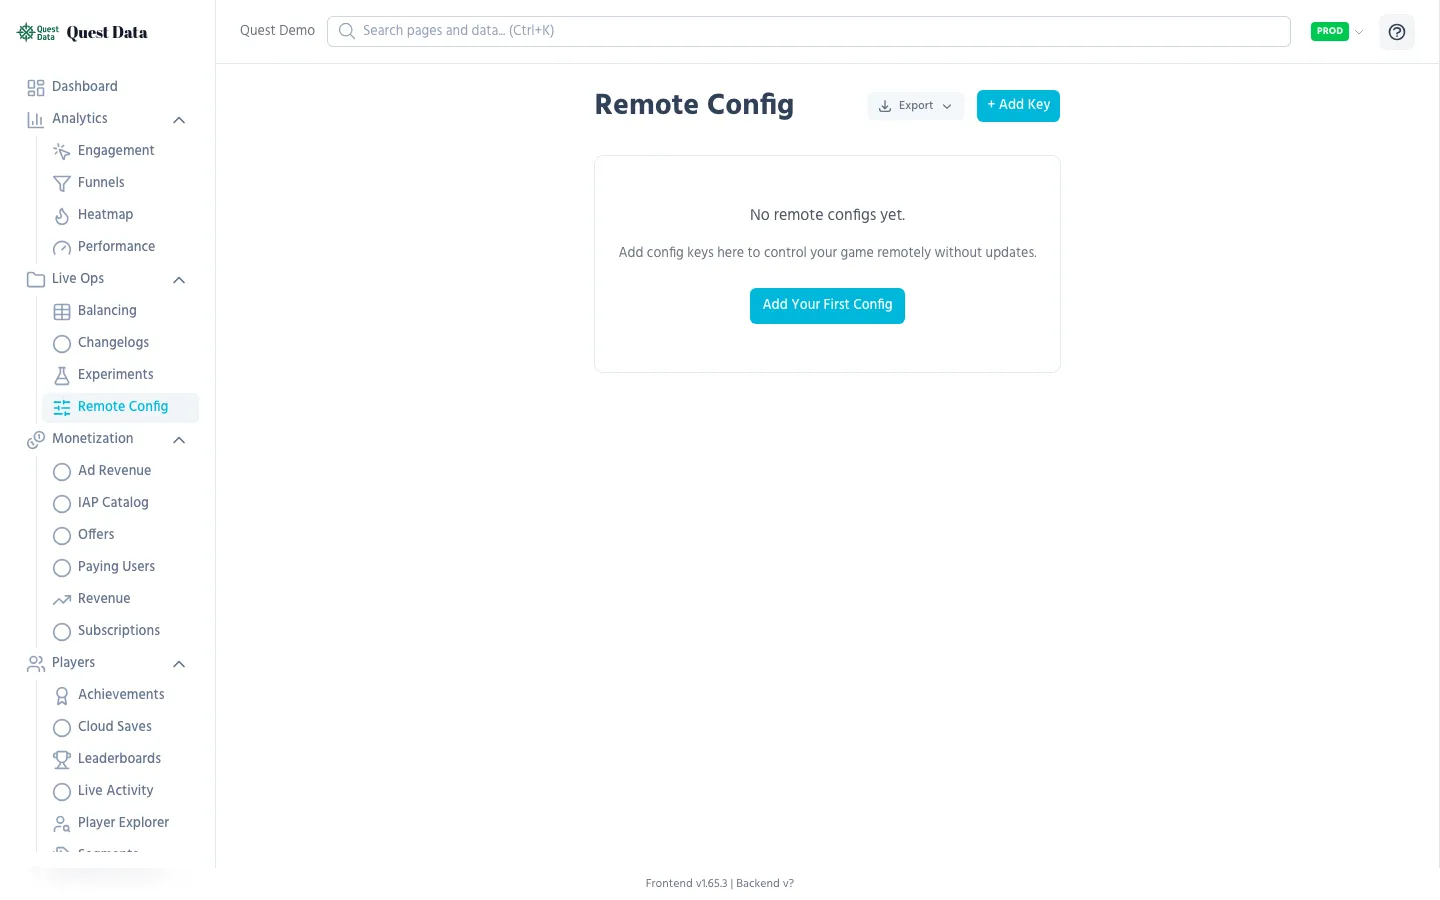
Remote Config
Section titled “Remote Config”Remote Config is your kill switch, your tuning knob, and your feature flag system — all in one.
Common use cases
Section titled “Common use cases”| Config Key | Type | Use case |
|---|---|---|
coin_multiplier | number | Adjust economy without update |
enable_new_ui | boolean | Feature flag for gradual rollout |
daily_reward | number | Tune daily login reward |
maintenance_mode | boolean | Disable gameplay during server maintenance |
event_banner_text | string | Show seasonal event messages |
Setting up
Section titled “Setting up”- Go to Configuration > Remote Config in the dashboard
- Click Add Config
- Enter a key name, value, and optional description
- Click Save — the value is live immediately
SDK integration
Section titled “SDK integration”# Fetch configs on game startQuestData.fetch_remote_config()
# Read values with a fallback defaultvar multiplier = QuestData.get_config("coin_multiplier", 1.0)var show_ads = QuestData.get_config("show_ads", true)See Remote Config SDK Reference for full details.
Segment Overrides
Section titled “Segment Overrides”Give different players different config values based on tags. VIP players get double rewards, beta testers see new features, churning players get a comeback bonus.
How it works
Section titled “How it works”-
Tag players in your game code:
QuestData.set_user_tag("vip")QuestData.set_user_tag("beta_tester") -
Create a segment in Players > Segments (e.g. “VIP Players” = tag
vip) -
Add overrides in Remote Config:
- Default
coin_multiplier=1.0 - VIP Players override:
coin_multiplier=2.0
- Default
-
The SDK automatically fetches the correct value for each player
Game Data & Balancing
Section titled “Game Data & Balancing”Game Data tables are like live spreadsheets your game reads at runtime. Perfect for item stats, enemy configs, level definitions, or loot tables.
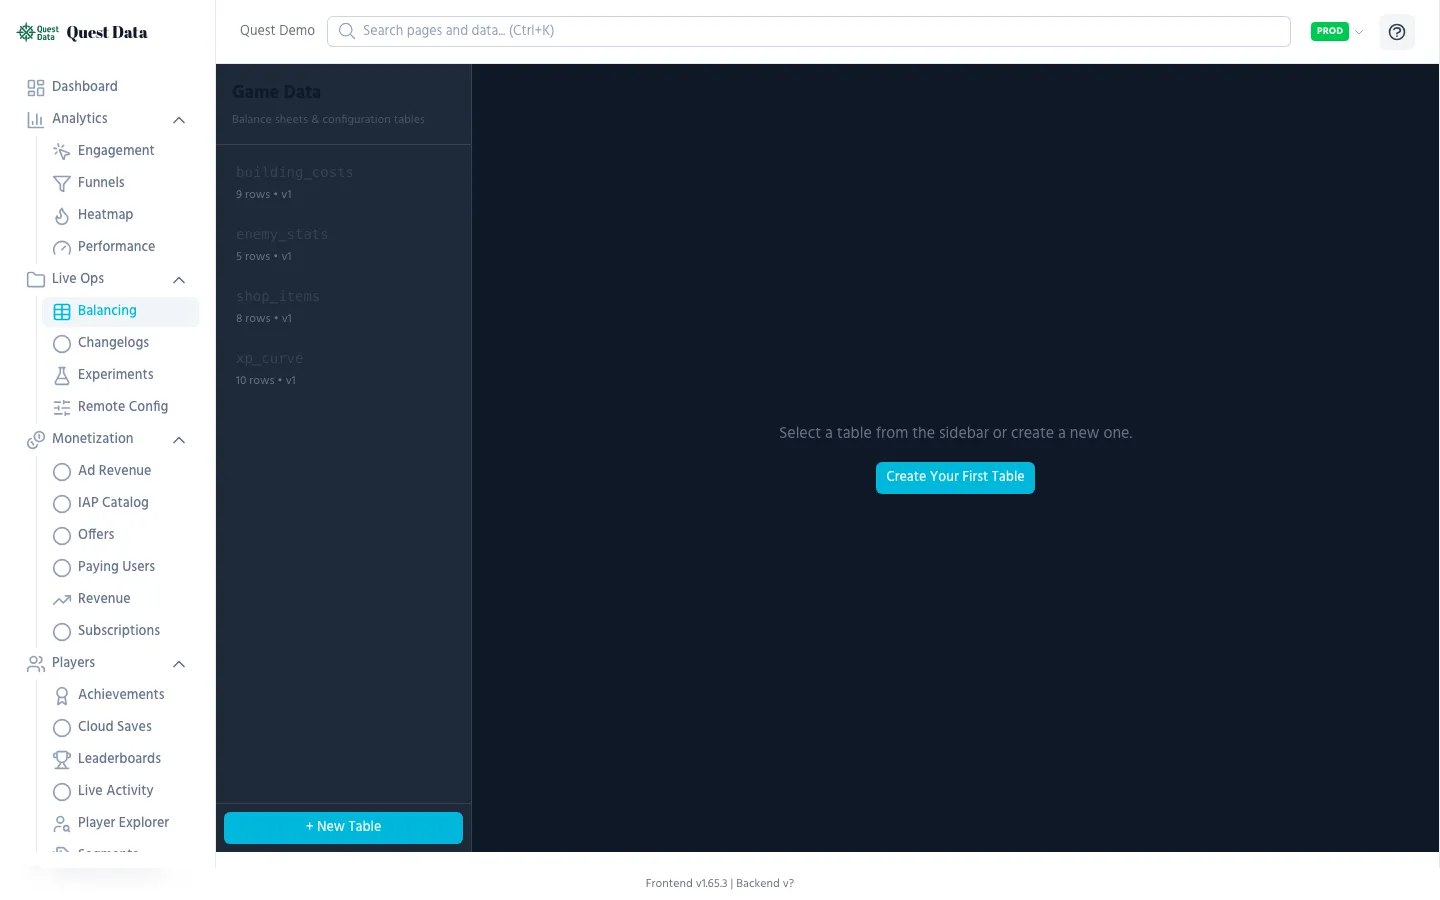
Setting up
Section titled “Setting up”- Go to Live Ops > Balancing
- Create a new table (e.g. “weapons”)
- Define columns (name, damage, cost, rarity)
- Add rows — or import from CSV
SDK integration
Section titled “SDK integration”# Preload tables on the loading screenQuestData.preload_game_data(["weapons", "enemies"], func(): start_game())
# Read data synchronously after loadingvar weapons = QuestData.get_game_data_cached("weapons")for weapon in weapons: print(weapon["name"], " — Damage: ", weapon["damage"])Changes you make in the dashboard are available to players on their next game start (or force_refresh).
See Remote Config & Game Data SDK Reference for full details.
A/B Testing (Experiments)
Section titled “A/B Testing (Experiments)”Test different versions of your game with real players. Does a 50-coin daily reward retain better than 100 coins? Does a harder tutorial convert better? A/B tests give you data instead of opinions.
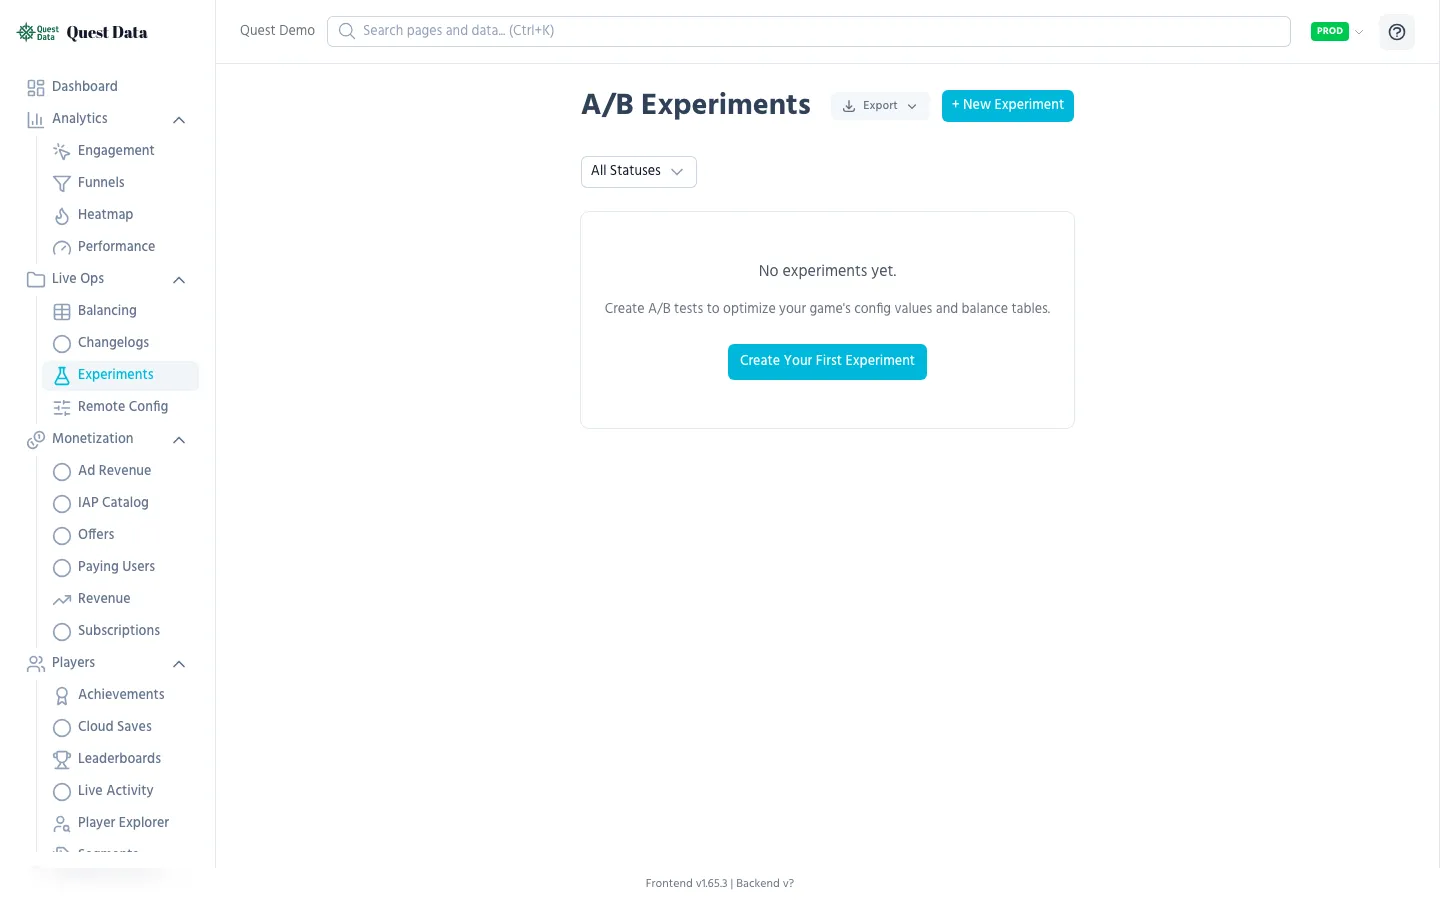
Setting up
Section titled “Setting up”- Go to Live Ops > Experiments
- Create an experiment (e.g. “daily_reward_test”)
- Define variants:
- Control:
daily_reward=50 - Variant A:
daily_reward=100 - Variant B:
daily_reward=200
- Control:
- Set traffic split (e.g. 33/33/34%)
- Start the experiment
The SDK integrates with Remote Config — no code changes needed. Players are deterministically assigned to variants based on their player ID.
Changelogs
Section titled “Changelogs”Publish game update notes directly from the dashboard. Players can read them in-game via the SDK API.
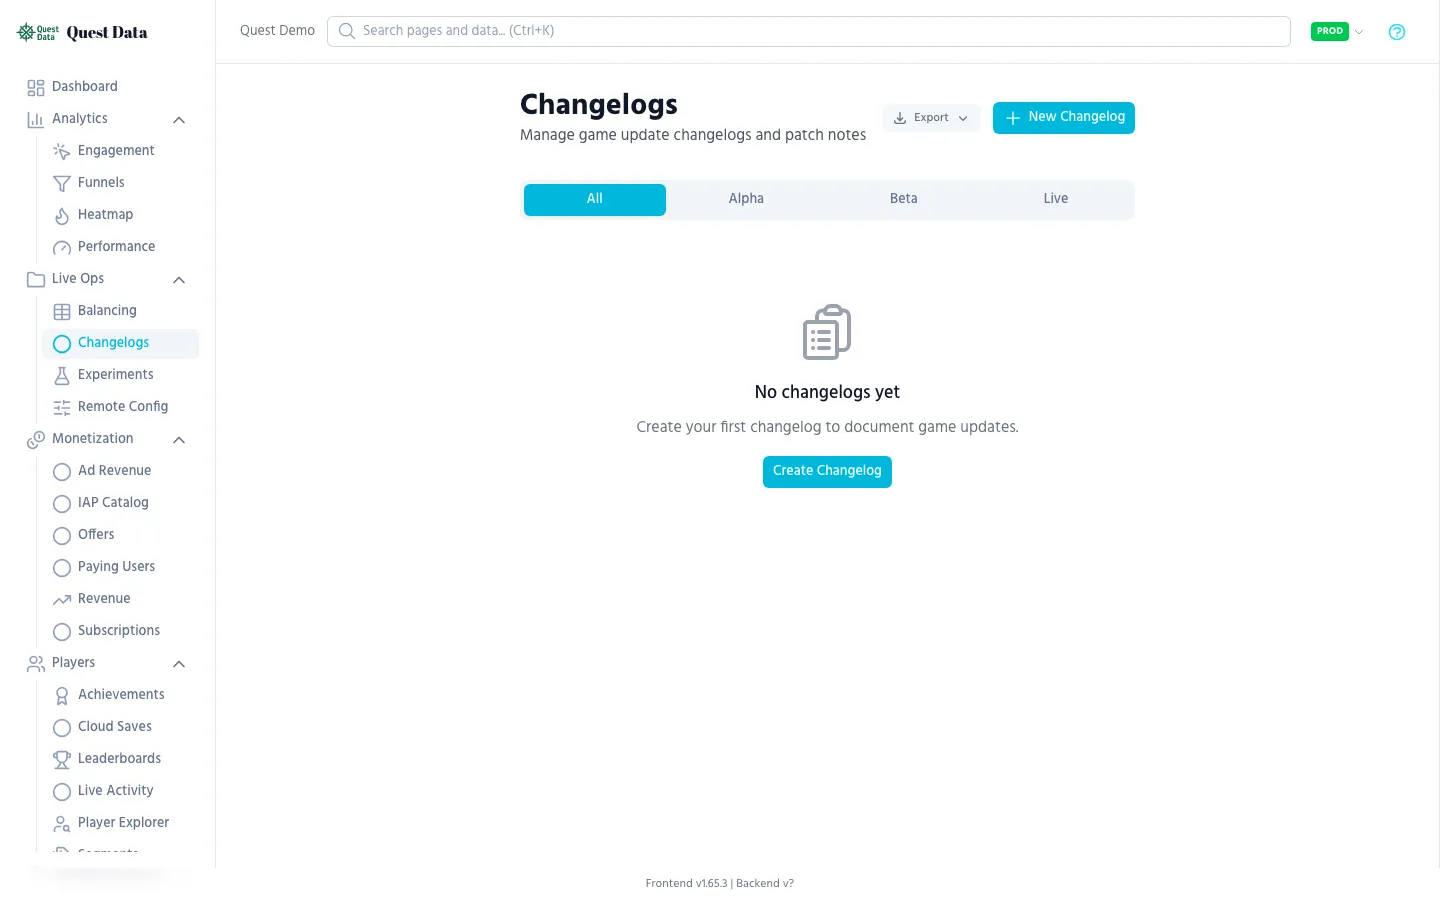
Branches
Section titled “Branches”| Branch | Purpose |
|---|---|
| Alpha | Internal testing notes |
| Beta | Beta tester release notes |
| Live | Public release notes for all players |
SDK integration
Section titled “SDK integration”# Fetch latest changelog for live branch# Use the REST API: GET /v1/changelog/latest?branch=liveNext Steps
Section titled “Next Steps”- Remote Config SDK Reference — Full API for config and game data
- Player Segments — Tagging and segmentation
- Analytics Guide — Measure the impact of your changes
- Dashboard: Remote Config — Detailed UI documentation